Maximize Revenue with Ease: 7 Stages of Fiberglass Pool Installation for Home Builders
Are you a home builder considering adding pool installations to your new home builds? It’s a fantastic idea that can enhance the appeal of your properties and generate additional revenue. However, understanding the process of installing a composite fiberglass pool is essential to ensure a smooth and efficient integration into your construction projects. This comprehensive guide will walk you through the seven stages of fiberglass pool installation for home builders.
Diversify Your Portfolio: 7 Essential Stages to Integrate Fiberglass Pool Installation for Home Builders
Step 1: Laying Out the Pool
The first step in installing a fiberglass pool is to lay out the pool’s design. Builders are provided with a dig sheet created from a 3D pool model, which specifies the exact measurements for the excavation hole. Before starting excavation, it is crucial to evaluate ground water flow, underground lines, and present or future gutter pipes. It is also important to determine the pool’s placement and any landscaping preferences. Then, you can mark the pool’s placement in the yard.

Step 2: Excavation
Once the layout is finalized, the excavation process begins. You will use the dig sheet as a guide to ensure the hole’s dimensions (length, width, and depth) match the pool’s specifications. This process typically takes about ¾ of a day, depending on the equipment size and the pool’s dimensions.
Step 3: Setting the Floor
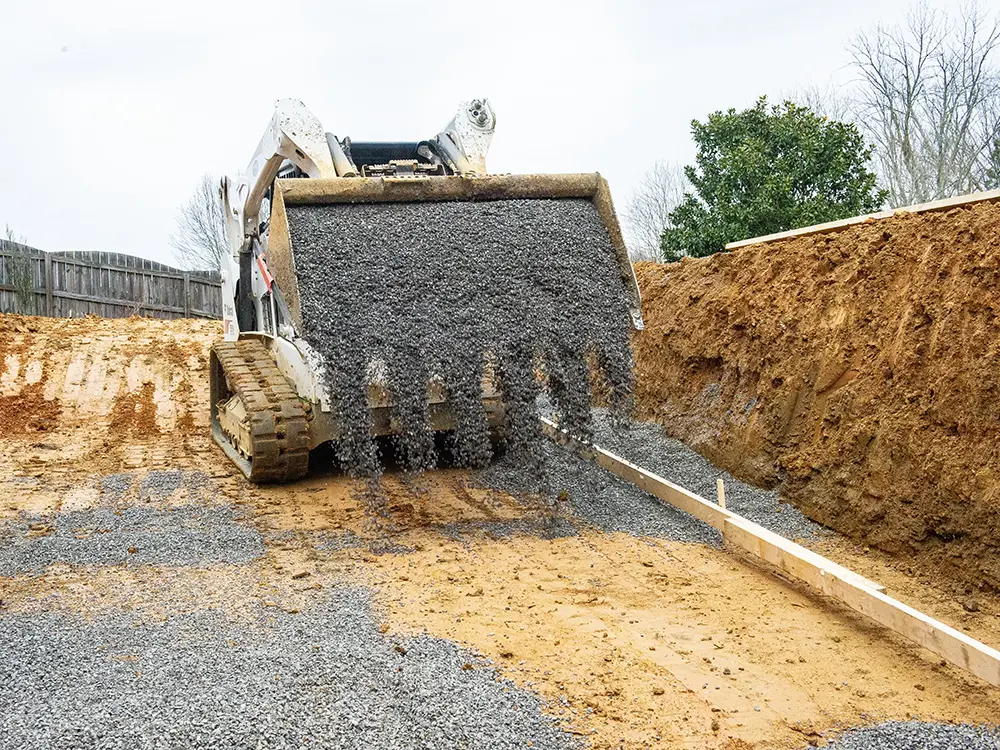
After excavation, the preferred choice of gravel as the base material is laid on the hole’s floor to create a stable base for the pool. Screed boards are set up to provide guides for creating a proper slope. This step can be completed on the same day as the excavation. There are normally two to three hours (depending on the pool arrival time) before the pool arrives the next day to finish up the base if needed.
Step 4: Pool Placement
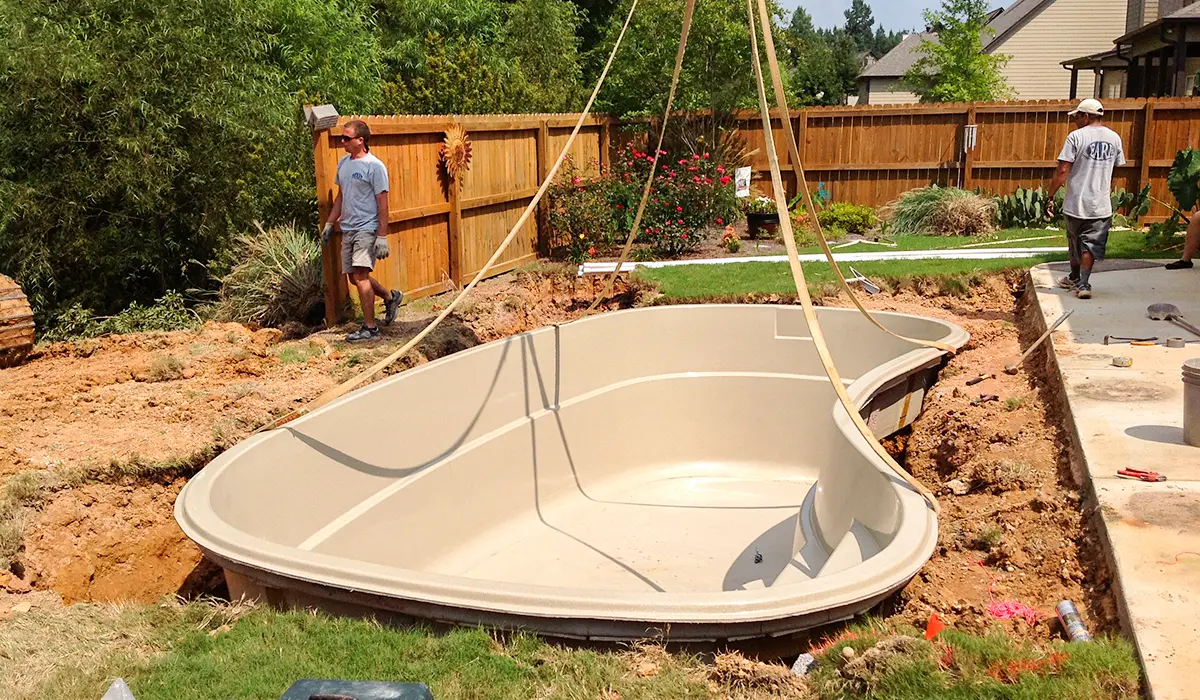
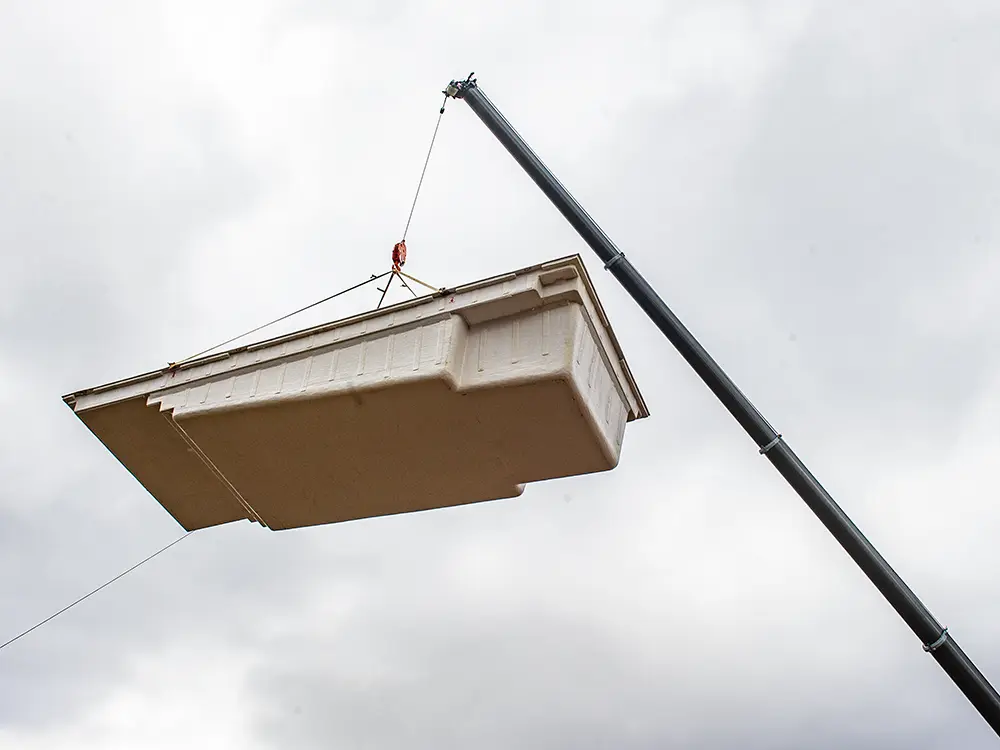
Using a crane, the pool is carefully lifted into place. Evaluating the site’s access beforehand is essential to ensure a smooth installation. Once the pool is lowered into the hole, all levels should be meticulously checked to ensure they are level and ready for backfilling. Installation of the skimmer, return fittings, and suction fittings are normally installed after the pool is leveled and braced.

Step 5: Back Filling and Plumbing
Backfill material, typically gravel, is used to fill the area around the pool. Simultaneously, the pool starts filling with water. Once the pool water and gravel backfill are ¾ filled, the rough in plumbing is connected to the skimmer and other fittings. The PVC pipes connect these components to the pump and filter. The pump, filter, and optional salt system and heater are then installed.
Note on filling the pool: The time it takes to fill the pool depends on the method (water truck or house hose). It’s crucial to bring the water and backfill material up together. This process can take a day with a water truck or two to three days with a hose. The house hose can’t run all night because gravel backfill must be added at the same time.
Step 6: Reinforcement and Bond Beam
Once the pool backfilling and rough-in plumbing are complete, reinforcing rebar is attached to the top perimeter of the pool to enhance its strength. After bonding the rebar, approximately eight inches of concrete is poured, creating a robust mechanical lock. This footing, known as the bond beam, strengthens the pool and provides stability for the coping finish, which comes in the next step.
Note: Most inspectors want to see the rebar and bonding, which can take up to 48 hours to inspect.
Step 7: Coping and Deck
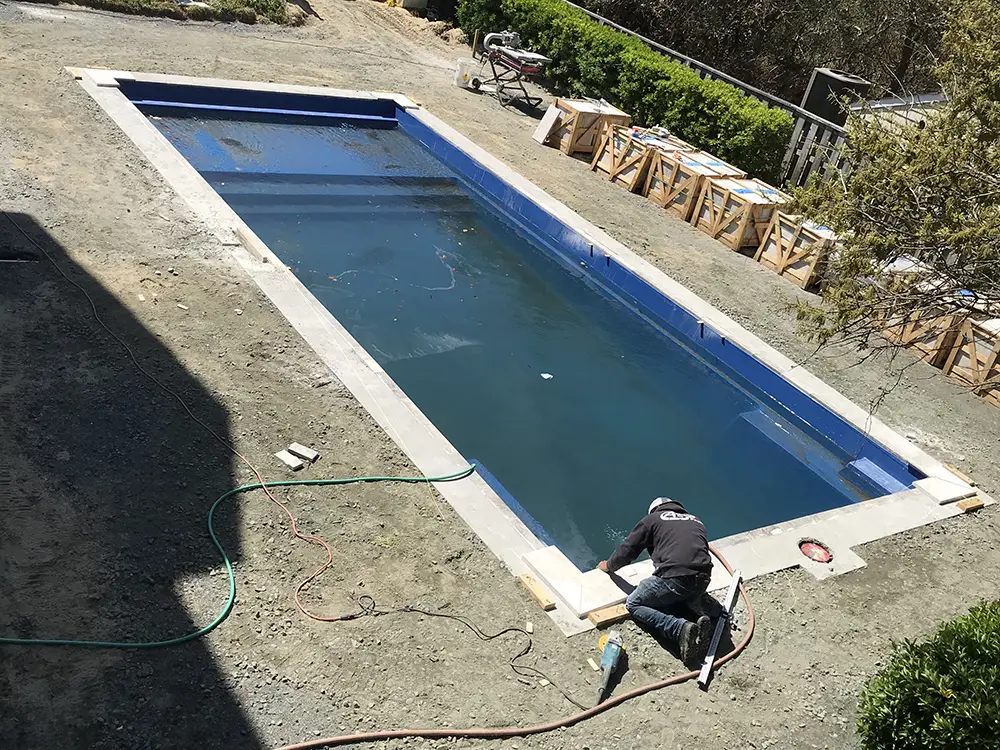
This is the time to add pavers, such as travertine, to the top of the pool and bond beam to enhance the pool’s aesthetics. Once the paver coping is installed, the decking is finished, and any necessary landscaping and fencing are added.
The pool is normally complete and ready for landscaping between days five and seven days. Additionally, homeowners may consider installing an automatic pool cover. Some states and municipalities may allow an automatic pool safety cover in lieu of a fence.

Streamline Profits: The Simplicity of Simultaneous Home and Fiberglass Pool Construction
Building a home and adding a fiberglass swimming pool allows for efficient coordination, ensuring the installation fits your construction schedule seamlessly. This approach gives you complete control over the process, from the home’s completion to the pool’s installation, ultimately increasing revenue without added stress. The installation process of a composite fiberglass pool is relatively simple and quick, ensuring you and your clients can enjoy the benefits of a beautiful pool without delay.
As a home builder, it’s essential to plan the pool installation after the exterior of the home and the roof are completed and before landscaping begins to save costs and optimize the use of space. This way, you can redirect funds that would have been spent on sod toward other landscaping features, enhancing the overall appeal of your properties. Installing a fiberglass pool can boost your business’s profitability while providing homeowners with a valuable addition to their new homes.